Cookie Privacy Preferences
We utilize essential cookies to ensure our website operates effectively and remains secure. Additionally, we'd like to request your permission to use optional cookies. These are intended to enhance your browsing experience by offering personalized content, displaying advertisements that are relevant to you, and helping us to further refine our website.
Choose "Accept all cookies" to agree to the use of both essential and optional cookies. Alternatively, select "Let me see" to customize your preferences.
Privacy Preference Centre
Our website utilizes cookies to enhance your browsing experience and to present you with content tailored to your preferences on this device and browser. Below, you will find detailed information about the function of cookies, enabling you to make informed choices about which cookies you wish to accept. Please note that disabling certain cookies might impact your user experience on our site. It's important to remember that cookie preferences need to be set individually for each device and browser you use. Clearing your browser's cache may also remove your cookie settings. You have the freedom to modify your cookie preferences at any point in the future.
For a comprehensive understanding of our use of cookies, please refer to our complete cookies policy.
These cookies are needed for the website to work and for us to fulfil our contractual obligations. This means they can't be switched off. They enable essential functionality such as security, accessibility and live chat support. They also help us to detect and prevent fraud. You can set your browser to block or alert you about these cookies, but it means some parts of the site won't work.
These cookies allow us to measure and improve the performance of our site. They help us to know how popular pages are, and to see how visitors move around the site. If you don't allow these cookies, we won't know when you've visited our site, and we won't be able to monitor its performance.
These cookies enable us to provide enhanced functionality and personalisation. They may be set by us or by third party providers whose services we've added to our pages. If you don't allow these cookies, some or all of these services may not work properly.
These cookies collect information about your browsing habits to show you personalised adverts. They may be used to build a profile of your interests and show you relevant adverts on other sites. They don't store directly personal information, but are based on uniquely identifying your browser and internet device. If you don't allow these cookies, the adverts you see will be less relevant.
FREE DELIVERY on everything
hello@print-print.co.uk 01952 850 730 |
FREE UK Next Day Delivery
FREE Artwork File Check
White Label Packaging
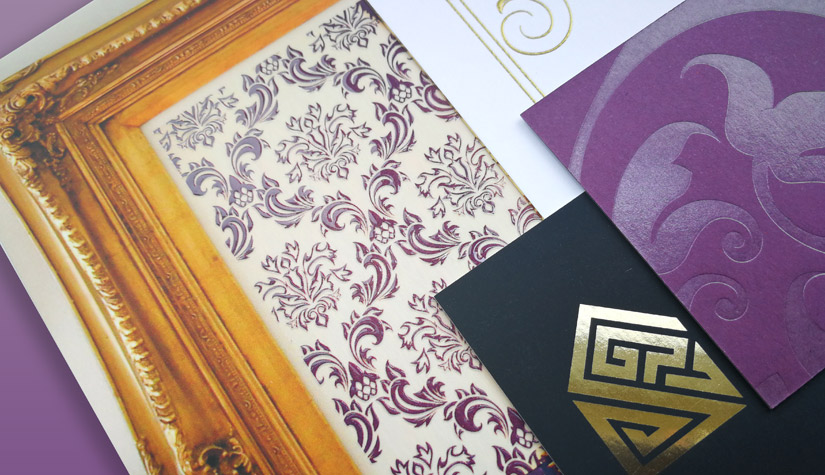
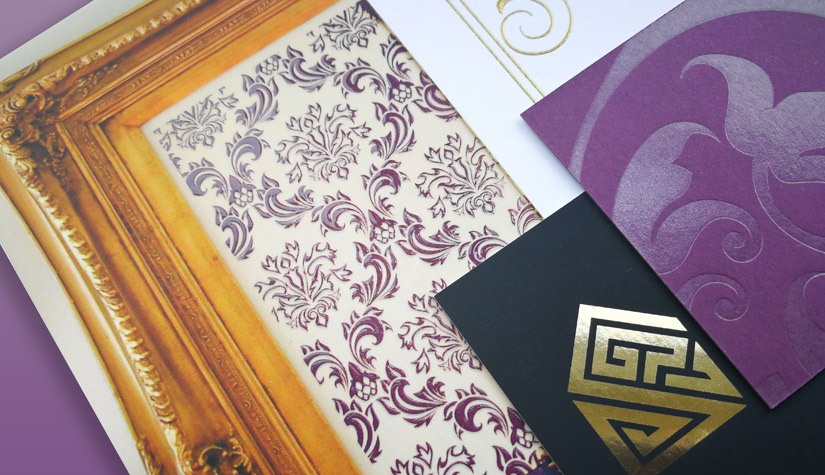
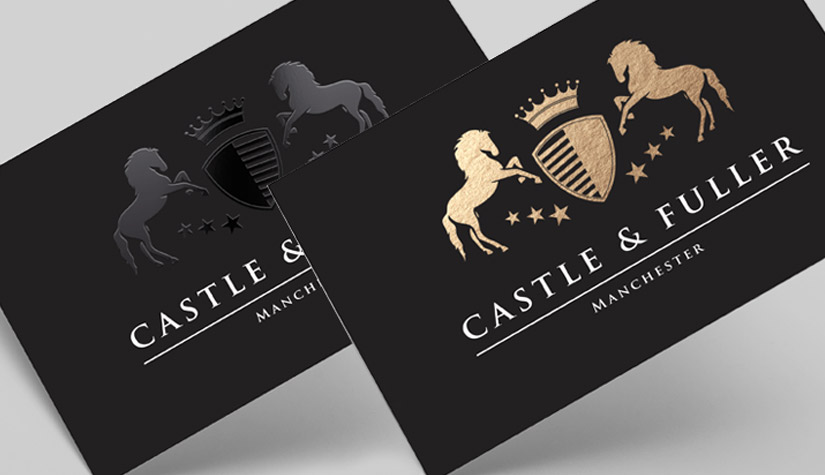
Special effects printing such as spot UV or foil printing is often used to add an element of luxury to a save the date invite, greetings card or business card.
If you want to add some special detailing to your prints you will need to supply your artwork in a specific format. This is due to the process and machinery required to add effects such as foiling or areas of spot varnish to printed materials.
We’ve put together a step by step guide for preparing your artwork below. But first, lets take a look at these special effects and how they can be used to enhance your prints.
‘Spot UV’ is the term used for applying varnishes to specific parts of a printed document such as logos or text to create a shiny and slightly raised effect.
Varnishes are usually applied to the whole page to give a shiny or matt finish, but when used for Spot UV an additional plate is used to overprint the varnish on to the desired areas of the design.
The ‘UV’ refers to the ultraviolet exposure which is used to dry the varnish coating quickly, creating the shine effect.
When used creatively, Spot UV can really add some depth or texture to your prints. SpotUV is comonly used on business cards. Applying Spot UV over the top of image elements such as bubbles or a snake’s skin creates an effective but unexpected texture.
Sometimes referred to as foil blocking or stamping, foil printing is the process of applying a thin coat of metallic or pigmented foil to paper stock using a combination of heat, magnesium or brass metal dies and a lot of pressure.
Foil is also an opaque medium which means the colour will not alter when applied over the top of a dark colour. For example, a white foil printed onto a black card.
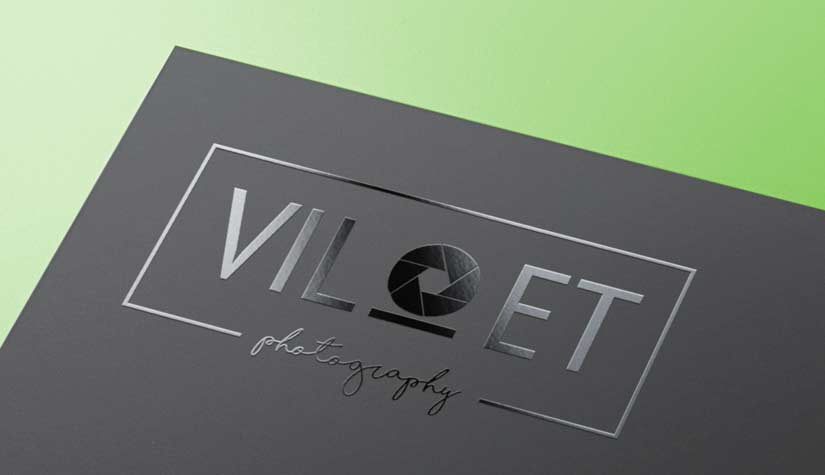
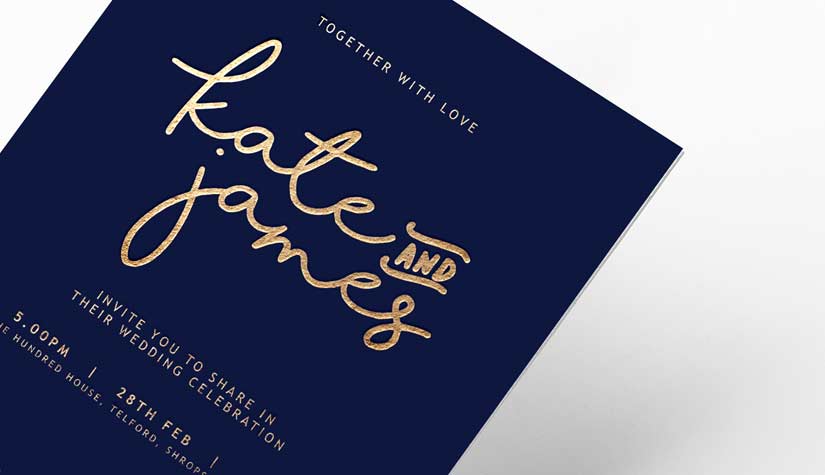
If you are looking for something to give your save the date invites or company logo a really luxurious finish opt for foil printing. With foil available in a huge range of colours, choosing a bright shade can really make your business stationary look branded and special.
Whilst both spot UV and foiling finishes are different, the process for preparing your artwork for print is exactly the same.
You will need to use a vector-based program such as Adobe Illustrator or InDesign to create your artwork files. Avoid using raster or bitmap based file types such as a JPG as this will result in a die with jagged edges and could end up looking awful.
When you have decided where you would like to apply the special effect to your design, you will need to create 2 separate files ready for print.
Follow these 6 steps to achieve perfect print ready files:
(Adobe Illustrator has been used for this example)
Step 1
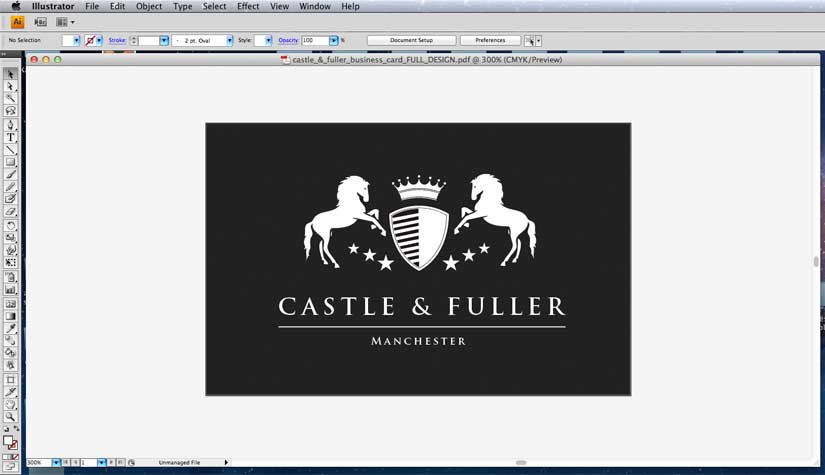
Start by creating your design in your chosen vector-based program. Save the file as a PDF with “_FULL_DESIGN” added to the file name.
This file can be sent along with your final print files so the printer has an idea what the full design should look like. It will be used for a visual reference only and will not be used during the printing process.
It is recommended to create your artwork in the same vector based program you intend to use for the following steps.
Step 2
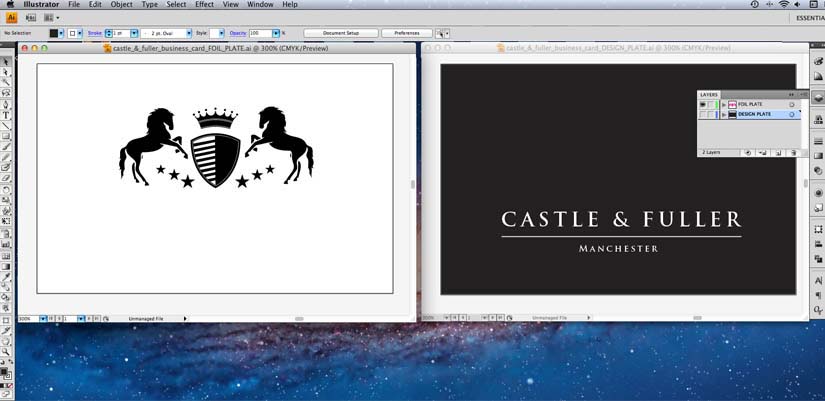
Now you will need to create 2 different documents – one with ONLY the elements you wish to apply the effect to and one that includes everything else.
Start by selecting the elements you wish to apply the effect to. Then ‘cut’ these elements from the document, either using the Edit > Cut menu or keyboard command Cmd+X (Mac) Ctrl+X (Win).
You can either paste these elements into a new document or on a new layer in the same document. Using the Edit > Paste infront option usually helps ensure you paste the elements into the exact same spot within the document. If there is any shift in position within the document it will affect the end result.
Separate the elements of your design in to 2 separate files or use the layers panel (pictured on the right) to create layers for each set of elements.
Step 3
Next these elements will need to be converted in to a spot colour.
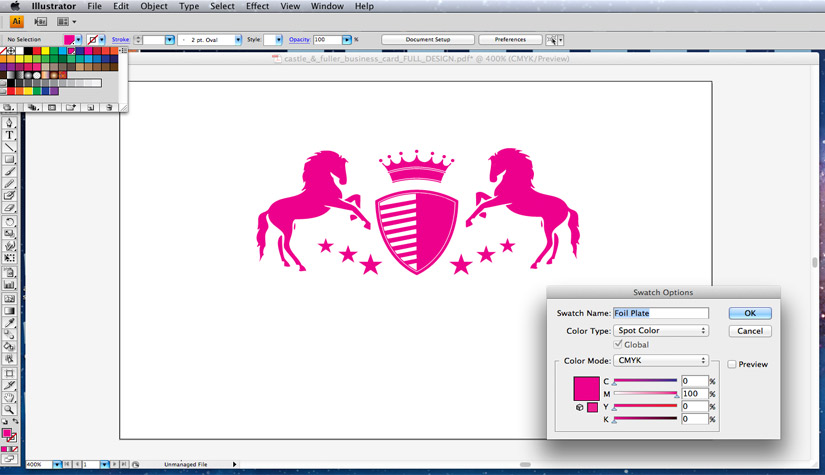
Select all of the elements and then create a new swatch from the swatches panel. Set the ‘Colour type’ to ‘Spot colour’ and the ‘Colour mode’ to ‘CMYK’. It is also a good idea to set the colour name to ‘Spot UV/Foil’ so it is easily identifiable.
You can select any colour you wish for this, as long as it is a 100% colour, with no tints. For example a 100% cyan or magenta or black will do the trick.
Create a new swatch from the swatches panel and set it to a 100% spot colour of your choice.
Step 4
You should also convert any text you wish to apply the effect to into outlines. To do this select the text element and convert it to outlines by selecting Type > Create outlines from the options menu at the top.
Step 5
Finally you will need to save your new files out and label them clearly to send on to your printer.
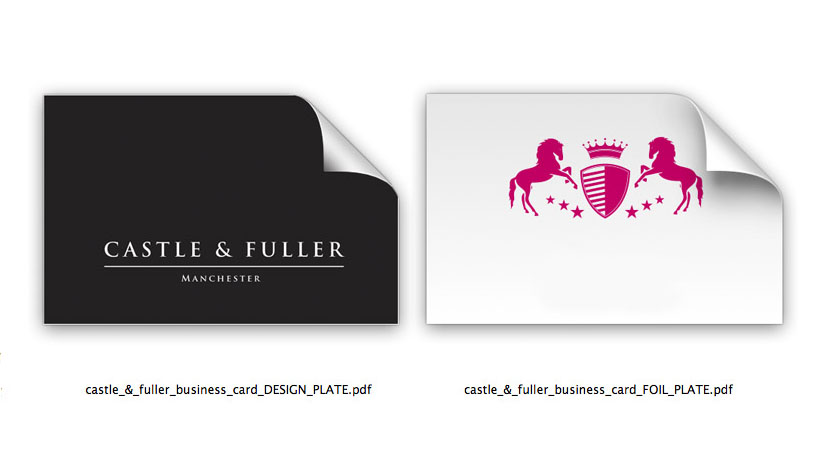
First, take the file with the elements you want to apply the effect to. If you are working with layers you will need to turn off/hide all of the other layers. Select Save as > PDF then add “_SPOT/FOIL_PLATE” to the end of the file name.
Next select the file with all of the non-effect elements (or select the layer and turn off all other layers) and then select Save as > PDF then add “_DESIGN_PLATE” to the end of the file name.
…Now you are ready to send your 2 print-ready files (and the visual file of the full design) on to your chosen printer! The printer will combine the 2 files to create the final finished design.
DO go for a soft touch or matt lamination
Opt for a lamination with your spot UV to really make it pop!
DO keep it simple
Remember that less is always more when it comes to effective applications. Use these effects to enhance certain areas of your design such as specific words, logos or design elements like lines or borders.
DO use sans-serif fonts
Where possible, opt for using a sans-serif font where applying foiling or spot UV. These types of fonts lend themselves much better to these effects and will always produce much sharper results, especially for small text.
DO be creative!
Applying spot UV on the top of an image can add a surprise texture, such as the rough-ness of a snakes skin or shine of some glass. Use your imagination and apply these effects creatively to parts of your design to really make a statement!
DON’T fill large areas with foil
Avoid using large areas of foil as it can be very difficult to get right. If you have ever tried to smooth a protective screen cover on to a mobile phone without any dust or air pockets, you will understand that is can be near impossible to achieve a smooth finish.
DON’T apply effect to very fine details
Avoid attempting to foil or spot UV small text or very fine details. The thinnest part of the line must me a minimum of 1mm width – so using these effects on small serif fonts for example would not produce good results. Text should be 7pts or larger for effective application.
DON’T have the effects bleeding off the edge of a page
Avoid having areas of these effects bleeding to the edge of the page or across fold lines. Always allow roughly 2mm of space around the edge to avoid peeling once the page has been trimmed or folded to size.
DON’T leave it too late to place your order
Avoid placing your order for products with foil or spot uv at the last minute. Both of these effects take time to produce. From creating the metal dies, to setting up the machinery needed, to the drying time. The process cannot be rushed, therefor you should expect to allow around a week for processing and delivery.
Katie Angilletta is a digital marketer working for Print-Print Limited, promoting business and building your brand through quality print marketing.
If you’re interested in small business promotion then please get in touch hello@print-print.co.uk
Get a feel for what we do!
Our FREE sample packs are full of great print ideas. They’ll give you a taste of what to expect when ordering your design and printing from us.