Cookie Privacy Preferences
We utilize essential cookies to ensure our website operates effectively and remains secure. Additionally, we'd like to request your permission to use optional cookies. These are intended to enhance your browsing experience by offering personalized content, displaying advertisements that are relevant to you, and helping us to further refine our website.
Choose "Accept all cookies" to agree to the use of both essential and optional cookies. Alternatively, select "Let me see" to customize your preferences.
Privacy Preference Centre
Our website utilizes cookies to enhance your browsing experience and to present you with content tailored to your preferences on this device and browser. Below, you will find detailed information about the function of cookies, enabling you to make informed choices about which cookies you wish to accept. Please note that disabling certain cookies might impact your user experience on our site. It's important to remember that cookie preferences need to be set individually for each device and browser you use. Clearing your browser's cache may also remove your cookie settings. You have the freedom to modify your cookie preferences at any point in the future.
For a comprehensive understanding of our use of cookies, please refer to our complete cookies policy.
These cookies are needed for the website to work and for us to fulfil our contractual obligations. This means they can't be switched off. They enable essential functionality such as security, accessibility and live chat support. They also help us to detect and prevent fraud. You can set your browser to block or alert you about these cookies, but it means some parts of the site won't work.
These cookies allow us to measure and improve the performance of our site. They help us to know how popular pages are, and to see how visitors move around the site. If you don't allow these cookies, we won't know when you've visited our site, and we won't be able to monitor its performance.
These cookies enable us to provide enhanced functionality and personalisation. They may be set by us or by third party providers whose services we've added to our pages. If you don't allow these cookies, some or all of these services may not work properly.
These cookies collect information about your browsing habits to show you personalised adverts. They may be used to build a profile of your interests and show you relevant adverts on other sites. They don't store directly personal information, but are based on uniquely identifying your browser and internet device. If you don't allow these cookies, the adverts you see will be less relevant.
⛄️ Last Orders Friday Dec 20th at 12noon. We will be closed Monday Dec 23rd - Re-open Thursday Jan 2nd 2025 🎅
FREE DELIVERY on everything
hello@print-print.co.uk 01952 850 730 |
FREE UK Next Day Delivery
FREE Artwork File Check
White Label Packaging
This help guide aims to help explain what “bleed” is and why it is required, it will also help explain how you add this to your design document. This document also contains eight examples of designs minus the correct bleed area and the instructions on how to correct them.
What is bleed and why is it required?
When a design continues up to the edge of the paper, bleed is required. Since most commercial printing presses are unable to print to the edge of a sheet of paper, they place multiple products upon large sheets of paper. These are then trimmed down to size and, due to the impossibility of cutting to the exact size of your design, an over print on all sides is required.
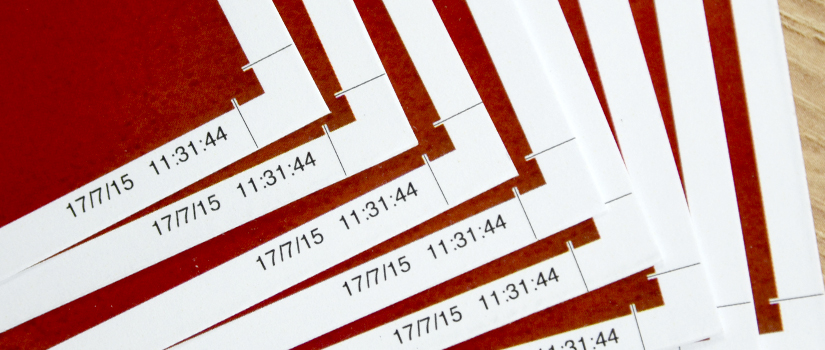
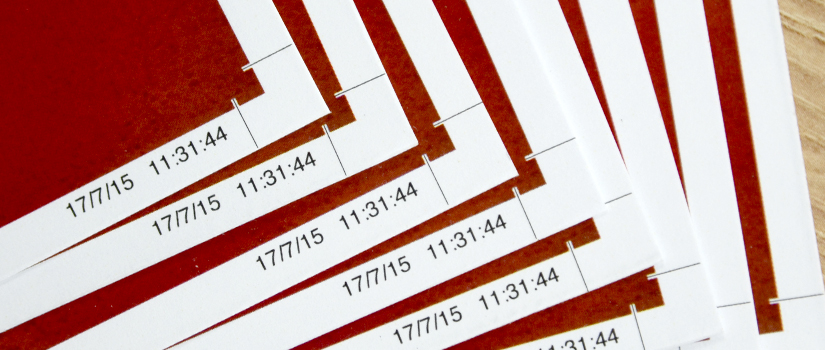
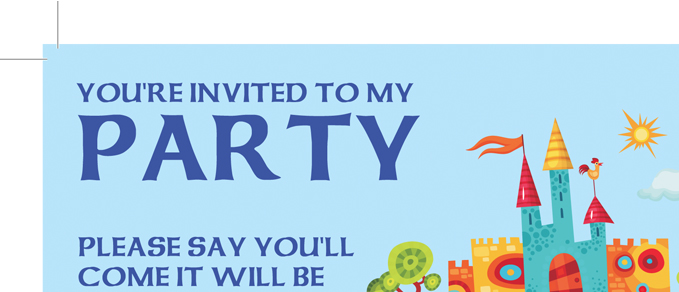
This overprint is called “bleed” and any document being printed professionally will require this, as well as a safety zone. Especially if your design runs up to the edge of the document. In the diagram below you can clearly see an A6 leaflet, with the correct 3mm all around bleed edge and crop marks. The crop, or trim, marks are to show where the guillotines cut to and by following these you will be able to see your final leaflet. Your bleed is the area that goes beyond these marks. Please note we able to put crop marks on you design if you are not able to do so.
How much bleed do I need?
The standard amount of bleed needed is 3mm on each edge, making the length of each side 6mm longer then it needs to be. So an A4 sheet with the correct bleed is sized at 216mm x 303mm. This is then trimmed to its finished size of 210mm x 297mm. The table at the bottom of this article will show you all the bleed sizes needed along with the finished size for you to see.
What Is the safe zone?
The safe zone is a 5mm area situated inside the cutting edge and you should not place text or important information here. Information within this area risks being trimmed into should these slip slightly on the guillotines. Further in this document you will see examples of artwork with correct and incorrect bleed and safety zones.
Diagram Showing Bleed and Safe zone?Below is an example of print ready artwork. You can see that the background extends to create the bleed (shown by the green line) and no text goes passed the safety zone (shown by the yellow line). The pink line indicates where the document will be trimmed after printing. The image to the right shows the full leaflet.
Examples of Common Mistakes?
Below is a list of the most common mistakes made when creating artwork along with explanations of how to correct them.
1. No bleed area or white bleed area:
Problem – The document has no bleed area. This will lead to the final leaflet having white slithers down the sides as movement on the press or guillotines has not been allowed for.
Solution – Extend your background image or colour to be 3mm bigger on all sides. Please make sure to move your text away from this edge.
2. Text is in the bleed area and safe zone:
Problem – The document is set to the correct bleed size but there is text going passed the safe zone and into the bleed area. Text in the bleed zone will be trimmed off, text in the safety zone may also be trimmed into.
Solution – Move text towards the center by 8mm. (3mm for bleed area + 5mm for safe zone)
3. Text is in the safe zone:
Problem – The document is set to the correct bleed size but there is text going passed the safe zone up to the trim. Text within this area will be trimmed into and possible cut off.
Solution – Move text towards the center by 5mm.
4. The bleed area is a different colour to the edge of the design?
Problem – The document is set to the correct bleed size however the bleed is made up of a different colour entirely, in the diagram it is yellow. This will lead to the final leaflet having yellow slithers down the sides.
Solution – Extend your background image or colour to be 3mm bigger on all sides.
5. Object touching the cutting line does not extent to the edge of the bleed
Problem – The coloured box containing the text goes up to the trim and no further. This will lead to a blue slithers around the box.
Solution – Your two options are to extend the coloured box into the bleed area. Or you can move the coloured box out of the safety zone and have a border around it.
6. Object is halfway between the cutting line and the safe zone line
Problem – The coloured box is sat between in the safety zone but not touching the trim. This could lead to coloured slithers on some of your leaflets but not on others.
Solution – Your two options are to extend the coloured box into the bleed area. Or you can move the coloured box out of the safety zone and have a border around it.
7. The object does not fully extend to the edge of the bleed area.
Problem – The coloured box is sat in the bleed area but does not go right to the edge. This could lead to coloured slithers on some of your leaflets but not on others.
Solution – Your two options are to extend the coloured box to the edge of the design. Or you can move the coloured box out of the safety zone and have a border around it.
8. Not enough bleed?
Problem – There is some bleed but not the full 3mm. This could lead to some white slithers on your final leaflets.
Solution – Extend your background image or colour to the full bleed size required.
What if I am still unable to correct my document??
Below are a couple of options if you are unable to amended your artwork.
1. We do have an art team here who would be happy to look over your leaflets for you and see if its possible for us to add the bleed for you, or certainly provide a quote to re-design the document if necessary.
2. Add an all around border – If there is no other option we can happily print your document with either a white or a coloured border. This will be around 7mm on all sides to ensure an even edge when trimmed.
Our team of experienced designers who are on hand to help you get your artwork in shape,
Call us on 01952 850730 or email us at hello@print-print.co.uk.
Danny Molt is an all round follower of great design working for Print-Print Limited, promoting business and building your brand through quality printing. If you’re passionate about small business marketing then please get in touch info@print-print.co.uk
Get a feel for what we do!
Our FREE sample packs are full of great print ideas. They’ll give you a taste of what to expect when ordering your design and printing from us.