FREE DELIVERY on everything
hello@print-print.co.uk 01952 850 730 |
FREE Artwork File Check
White Label Packaging
Whether you’re launching your own fashion brand, selling your designs to retailers and fashion buyers – Here are 5 top tips for designing a killer lookbook.
When you’re in the fashion industry, image is everything.
And nothing can affect your image more than the first impression you make. Whether you’re trying to captivate customers or catch the eye of a busy buyer, your lookbook is often the first contact your fashion brand has with the people that matter most.
So you need to get it right.
To help you along the way, we’ve put together a few important tips for designing a printed brochure lookbook for your brand – choosing the right photos and layouts, including the right information about your products, and getting the best professional help to create a stunning lookbook that gets you and your brand noticed.
Put simply, a lookbook is a high-quality fashion catalogue that shows off the different items from your brand’s collection.
In particular, it’s meant to show how your products can be put together to form complete ‘looks’ and ‘stories’ – and each different look is often tied together by the theme of the brochure or the current season of clothing.
Unlike a full-on fashion catalogue, a lookbook doesn’t usually contain prices, specifications and other wordy details. These things are left to a separate line sheet, leaving the lookbook as a striking visual display of your products that’s intended to inspire consumers or attract interest from fashion buyers.
Some designers use digital lookbooks: a dedicated section of their website that shows off the different looks and collections they’re trying to promote.
And while having an online lookbook is definitely useful, there are plenty of reasons why having a printed lookbook will give you an edge (and there’s no reason not to have both).
Quote: “Obviously I would need to see a designer’s collection before considering whether to stock their items, but I won’t even consider this step unless I have previously browsed their look book.” George Bailey, Chief Buyer at Arcadian Clothing Group.
A high-quality printed lookbook can help your brand by:
With that out of the way, let’s get stuck into the nuts and bolts of designing a killer lookbook. Here are five tips to get you started:
Don’t think of your lookbook as a full-on catalogue filled with prices and order forms. Think of it instead as a teaser, designed to excite customers and get buyers interested in your brand.
With the usual words and details stripped away, your photos and layout need to speak for themselves – and that means you need to choose them carefully.
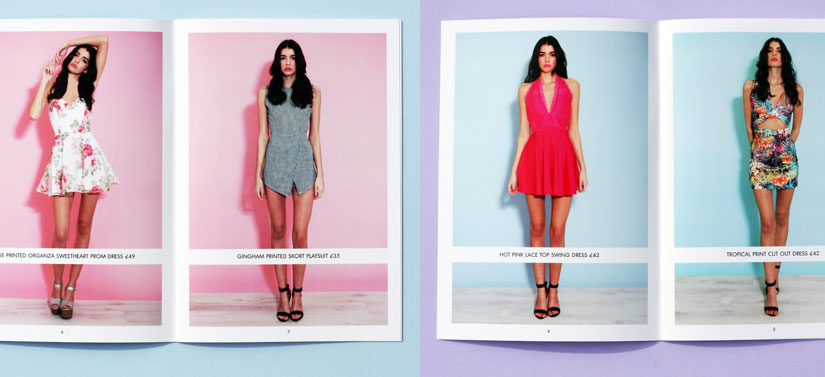
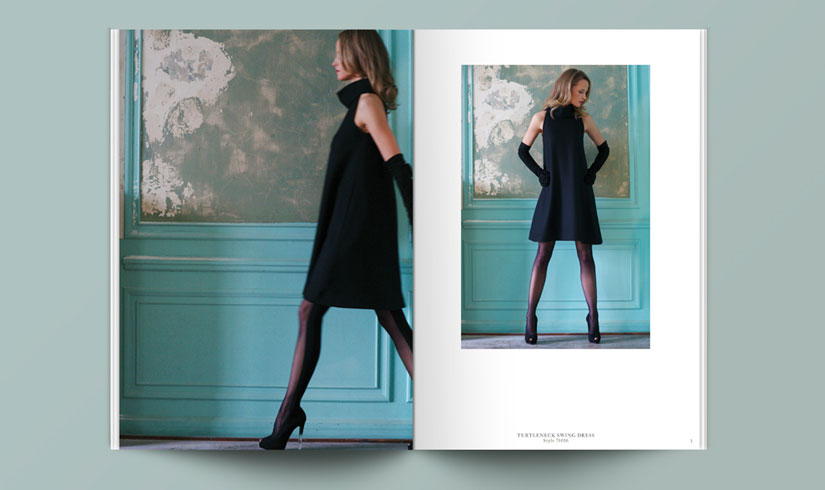
First, make sure the pages in your lookbook are focused on the product and the look. Don’t be afraid to keep things simple, and don’t be afraid of using plenty of white space. Just take a look at this example from Rare London.
They’ve used vertical images to capture the entire look from head to toe, with their model filling as much of each frame as possible.
Importantly, they’ve chosen a pose for their model that’s completely open. The clothing is what the photo is about, and they’ve made sure to keep their model’s hands and hair out of the way as much as they can.
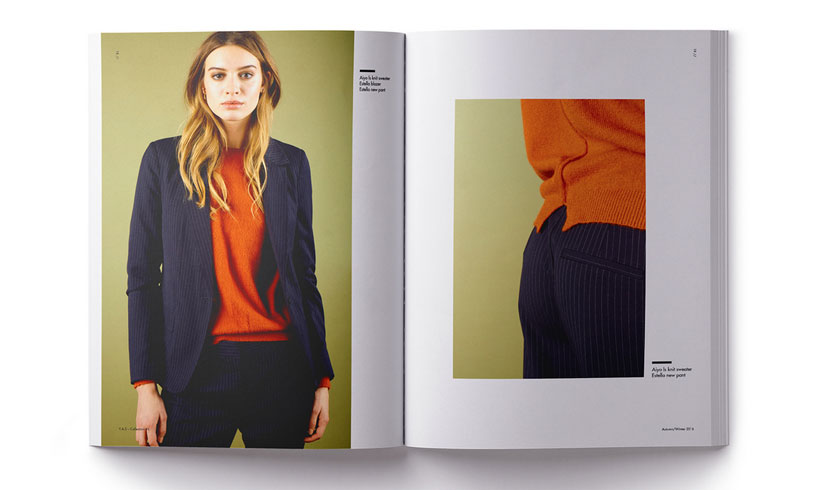
But remember: focusing on the look doesn’t always mean you have to focus on the model. You can also use close-up shots to accompany the main photos, highlighting the specific special features or unusual stitching that makes your garments unique, see here for YAS
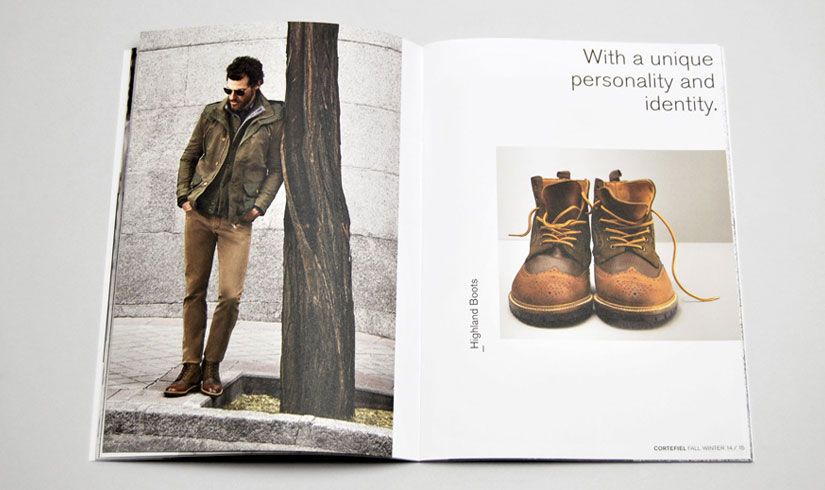
Second, choose a clean and simple background that complements the colours of the particular look you’re showing off.
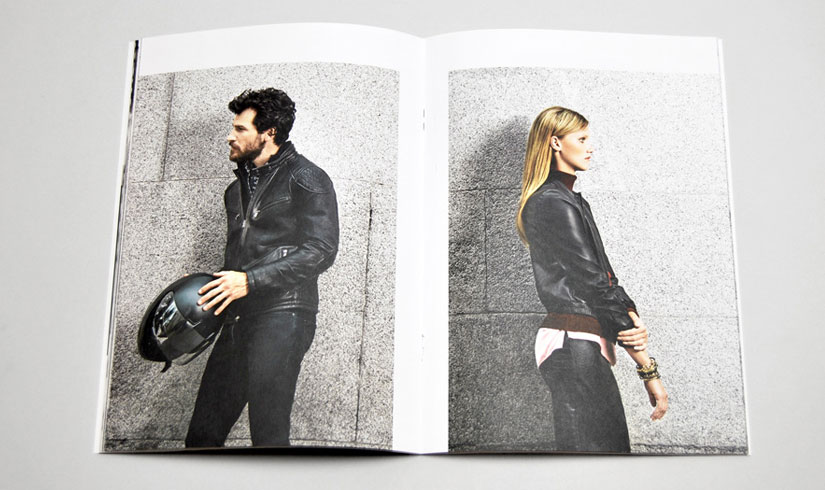
Make sure there are no distractions, but don’t be afraid to match up a dramatic look to a dramatic setting – like these strong, rugged backgrounds that set the tone for the tough and durable clothing on show: Cortefiel
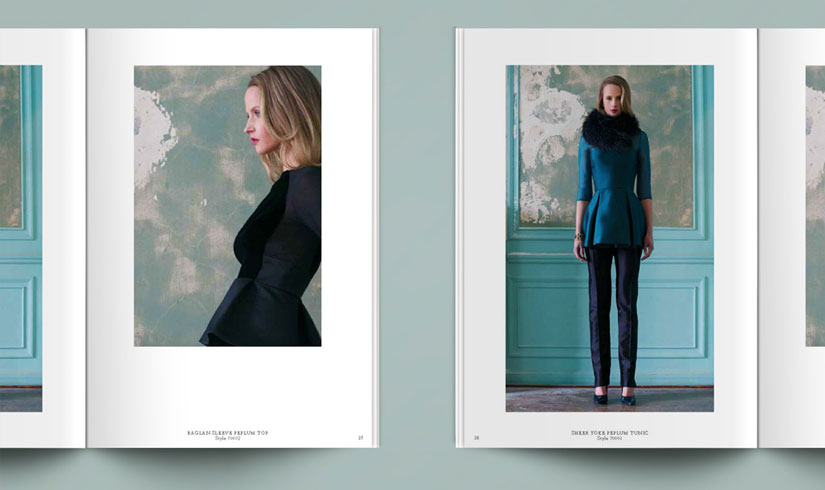
A little extra time and attention on your backgrounds can totally transform the mood of your lookbook, without any change to the products themselves. Here, luxury brand Isoude has used a classic architectural interior background to complement their clothing – it’s elegant, but still rough enough to create a contrast against their pristine garments.
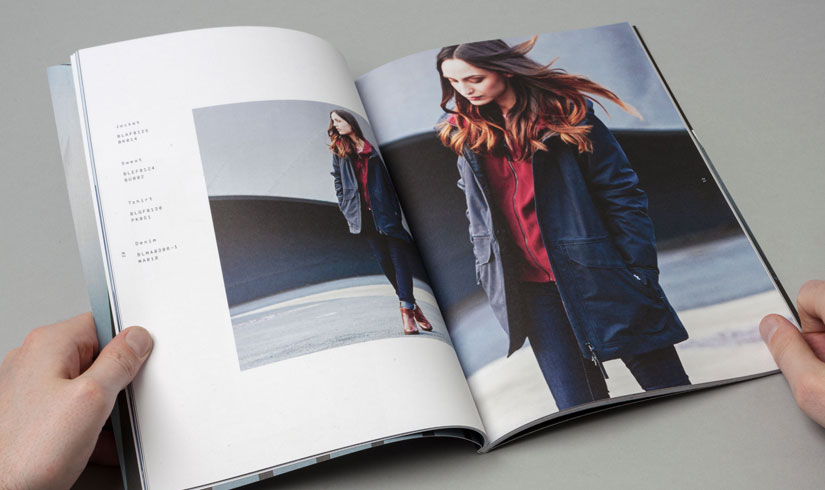
Finally, keep any brand logos, product names or descriptions completely out of the way. The words are important (especially if you’ve chosen exciting names for your items and looks) but the photos should be all about the clothes, without distractions. Take a look at this example from Bench
They’ve chosen a brief description in a clean and simple typeface, and they’ve tucked the text well out of the way of the model and the products on show. At first glance, you hardly even notice it – and that means all of your reader’s attention is focused on what’s important.
There’s a reason why you’re sending out a lookbook instead of samples of your work.
It’s because you’re trying to create interest with an entire look: a realistic portrayal of how your clothing would be worn, not how it looks on the hanger.
That means you need to make sure you include plenty of photos that are as natural as possible – both in terms of the setting you choose and the model’s pose.
When designing your lookbook, you should always be thinking about your target market. Who would want your clothes? Where would they be wearing them? And what would they be doing while they’re wearing them?
Once you’ve got that down, you can start to think about the photos you’ll create to appeal to that specific demographic.
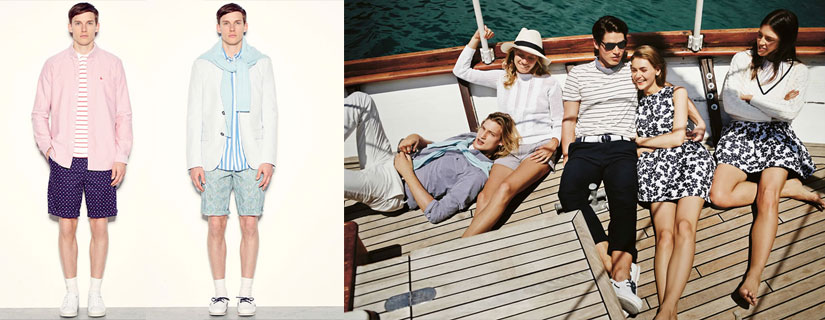
Just look at these two very different shots from Jack Wills
They both follow a similar theme of sailing, and you could argue that the picture on the left shows off the full product more clearly and without distractions.
But the photo on the right creates an emotional connection with its context. You know exactly who the clothes are for, and you know exactly what sorts of situations they’d be in – and that’s a much more effective way of getting customers and fashion buyers excited about your looks.
Getting the right lifestyle images into your lookbook is also a great way to add a little depth to your brand. By including images that show your inspiration for each theme or piece, you’re able to show buyers and customers where you’re coming from – what motivated you to create the clothing you’ve designed.
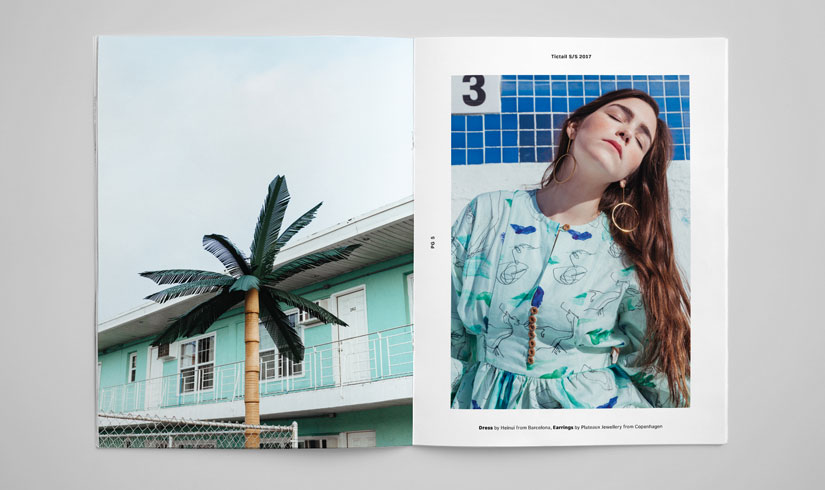
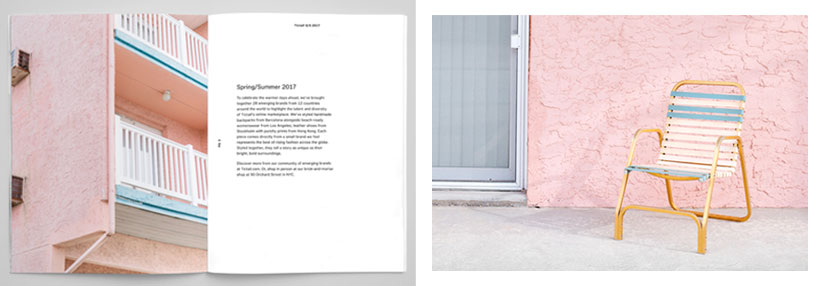
Here’s an example from Tictail that demonstrates exactly what we mean.
They’ve devoted an entire page of their lookbook to a shot that includes no clothing – but side-by-side with the product on show, it helps the reader to understand the visuals that inspired the clothing design.
Of course, you might not have the budget for a photo-shoot trip to Miami. But you should have no problem sourcing a separate photo that you can use to help demonstrate your inspiration.
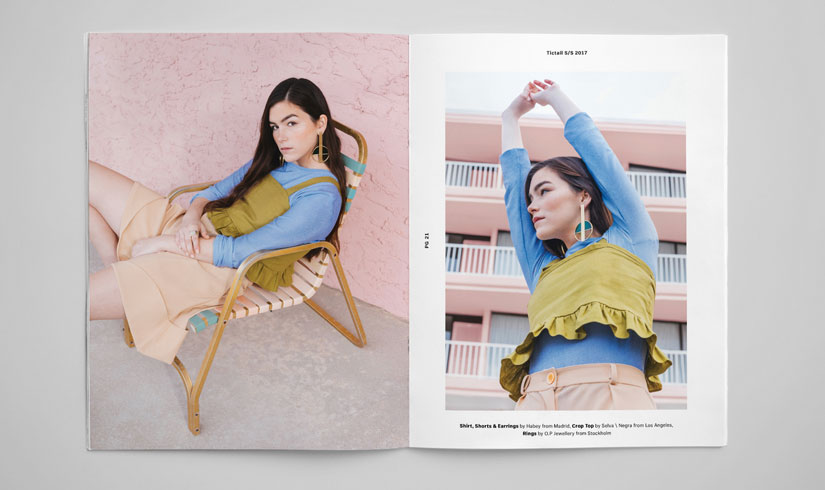
Here’s another example from the same lookbook that reinforces the lifestyle-first approach:
You’ll notice that when they need a page that’s focused on text and information – like the introductory segment on the left – they haven’t included a product shot with clothing. This means their readers won’t be distracted away from their clothing designs, but they’re still able to absorb the feel of the photo and setting, establishing a mood for the rest of the lookbook.
Ultimately, we’d recommend designing your booklet with a healthy mix of product shots, natural settings, and lifestyle imagery – with your non-product lifestyle images kept to less than 25% of the total images used.
Some brands can get away with a lookbook full of lifestyle imagery. But they’re usually established brands with a large following and reputation – so when you’re still on the rise, it’s best to keep the focus more on your products and designs.
On the other end of the scale, there are some fashion brands that sometimes do away with lifestyle shots altogether, focusing exclusively on product shots.
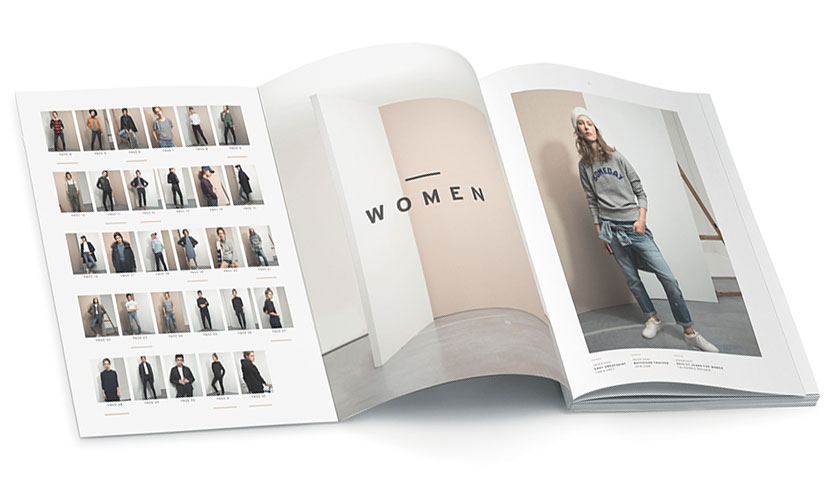
Here, Levi’s has gone for a comparison approach – a method that makes sense when selling a range of jeans with relatively small differences in style between each product.
As well as the inherent type of clothing they sell, they’re also a household-name brand: which means they don’t really need their buyers to be drawn into a mood, setting or story with lots of lifestyle imagery.
So how do you know when to draw the line? In general, we’d advise against lookbooks that contain every item in a collection, along with prices, sizing and comparisons between similar products. If that’s what you go for, you’ll probably end up with something closer to a catalogue than a lookbook.
One of the biggest mistakes we see when fashion brands create a lookbook is forgetting about the reader.
You’re not just mashing together an array of separate photo-shoots. You’re trying to attract interest – and that means you need to plan your lookbook from start to finish with your target audience in mind.
Here are a few quick tips when you’re starting to plan out your lookbook:
Once you’ve got a general idea of the overall structure, you’ll be ready to start thinking about each different section.
First, you’ll need to spend time creating an eye-catching cover. As well as including your logo, the name of the collection and the year or season, you’ll need to choose an editorial-style cover image. If you’re sending your lookbook to a fashion buyer, remember that they probably receive hundreds of lookbooks each month – and if your cover photo isn’t intriguing, exciting or professional, they may never even open your book.
Next, you’ll need to think about the internal pages. It’s best to include a mix of editorial-style shots and product shots, with a mix of natural settings and clean studio shots as well. If you’re designing a wholesale lookbook for buyers and distributors, you’ll also need to include a few details for each product, such as the:
• Style name
• SKU (Stock Keeping Unit) or style number
• Colours, fabrics and size ranges
• Wholesale price (minus VAT or Goods and Services Tax)
• RRP (Recommended Retail Price).
Finally, you’ll need to design a back cover. Just like the front cover, this should include one of your best editorial-style photos, as well as a few contact details like your website, address, email and phone number.
When you’re designing something digitally, it’s all too easy to forget the small but important differences between an online lookbook and a printed one.
In particular, make sure you:
If that all sounds a bit confusing, don’t worry – here are some artwork guides to help you out.
Next, you’ll want to decide the best way to present your lookbook.
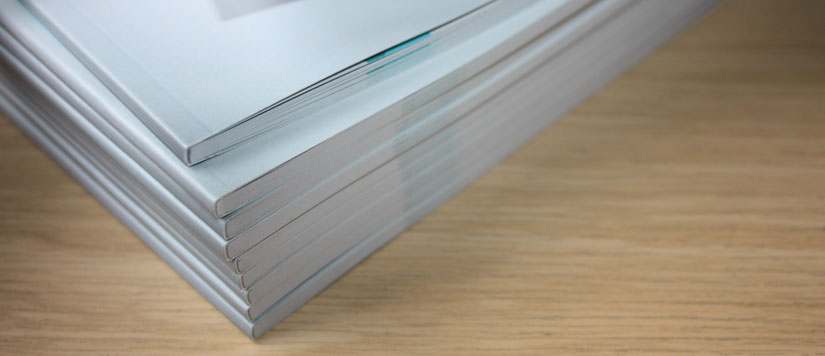
The most popular option is a professionally finished paper booklet – and you’ll usually have three different types of binding to choose from:
Stapled bound
Stapled bound brochures are often the most affordable option, and will work for lookbooks up to about 48 pages thick.
Perfect bound
Perfect Bound Brochures on the other hand, have a glued edge, which makes for a higher quality, magazine-like finish – and there’s almost no limit to the number of pages you can include.
Wirobound / Wire Bound
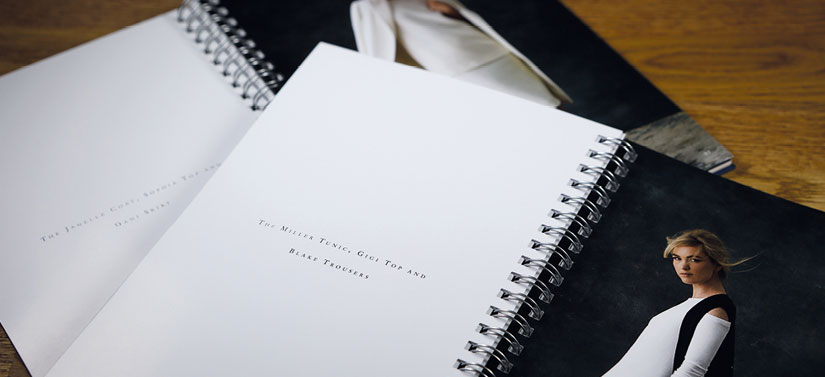
Wirebound brochures lie somewhere in the middle. They’re more affordable than the magazine-style perfect bound brochures, but they can handle more pages than a stapled brochure. And if you get the right design, images, and typography, they can really help your lookbook stand out, like this lavish lookbook from Louise Kennedy
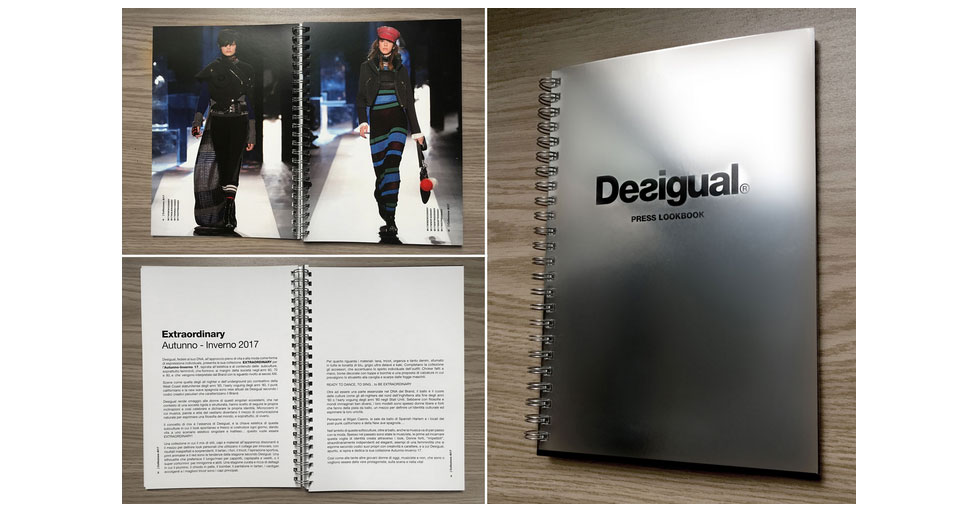
Or, for a more unique first impression, take a look at this fashion brochure from Barcelona designers Desigual.
They’re a brand that prides themselves on ‘intense prints and asymmetrical designs’ – and this Wirobound-style lookbook with a tin sheet cover is exactly the sort of thing that can help to get that message across at first glance.
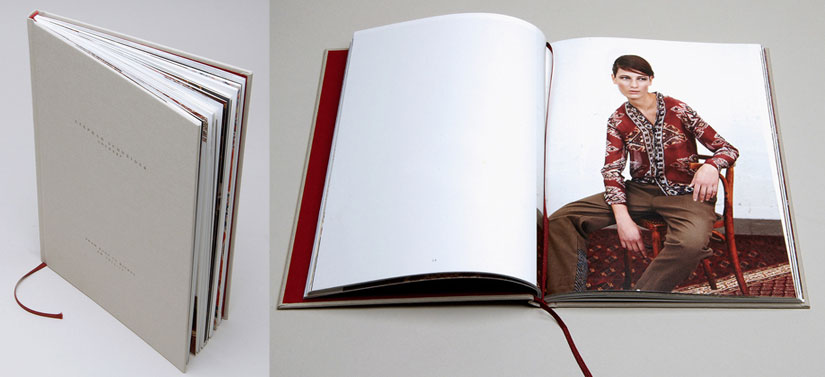
Book Bound or Hardbacks Alternatively – and perhaps just for more established brands looking for a high-end brochure – you could consider a hardback version of your lookbook. It won’t be cheap – but that’s often the whole point. If you need your lookbook to stand out against the competition and project an image of a larger fashion brand that’s already desirable and successful, a more solid and permanent display of your products could just give you the edge you need. Here’s an example from Stephen Schneider.
Your lookbook could be the first point of contact between your ideal customer or fashion buyer and your brand – so creating a professional fashion booklet could really make all the difference.
That means you need to get the best help for the budget you have. Make sure you spend the time to find:
If you really get stuck – or if you’re on a shoe-string budget – there are plenty of free design packages that are easy to get to grips with (like Canva, GIMP, or Inkscape). But when it comes to your photographers and models, a DIY approach just won’t cut it – so get the best help you can afford.
And, of course, the best photos and graphic design won’t mean a thing without a flawless print to bring your lookbook to life.
We’ve been producing perfect booklets and brochures for years, and we know exactly how to get the most out of high-quality photos and designs – so have a look at our booklet printing if you want the finished product to be worth all the hard work you’ve put into your products and your designs.
By now you should have a good understanding of what works and what doesn’t when designing a fashion lookbook – and you should be well on your way to creating a brochure that gets the attention your brand deserves. Just remember the following tips as you go:
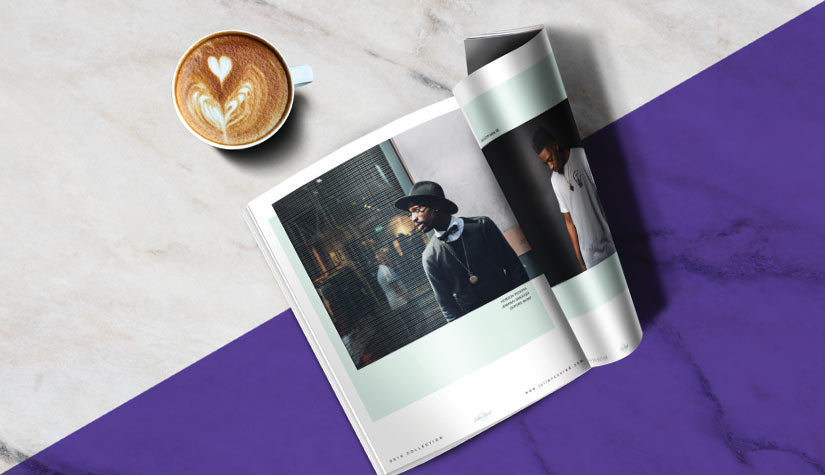
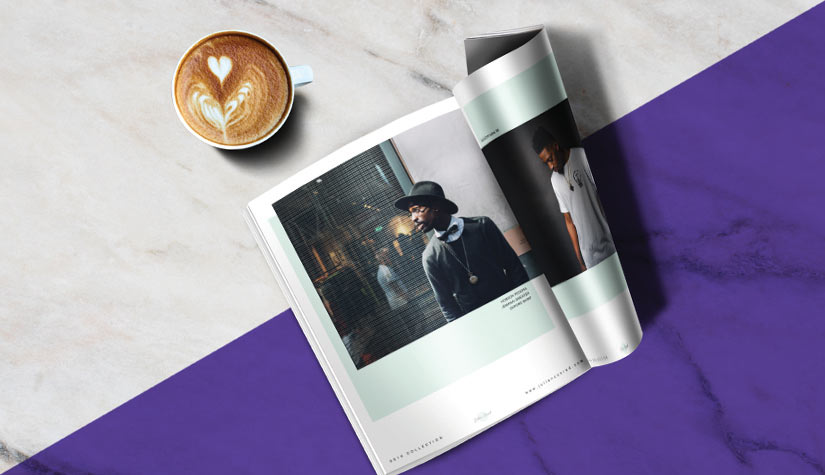
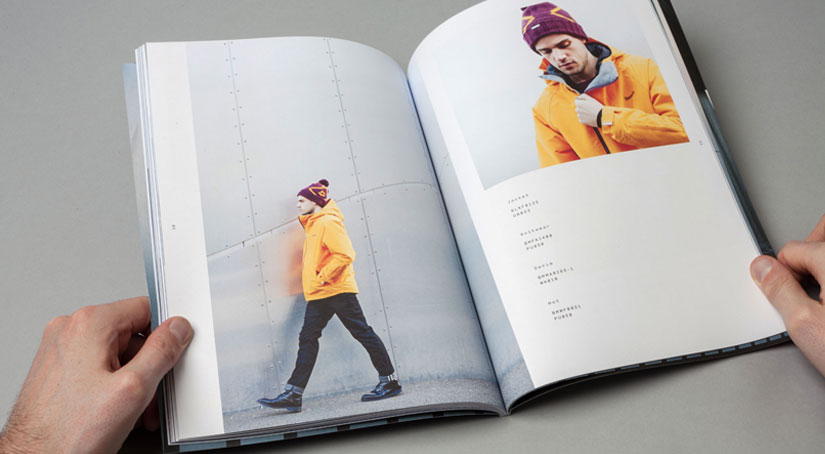
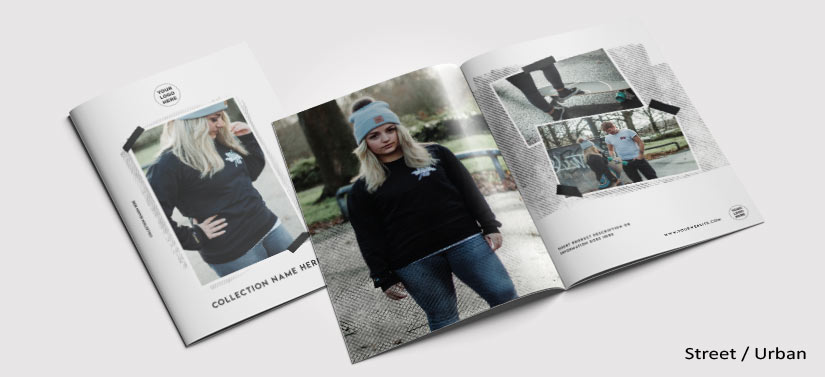
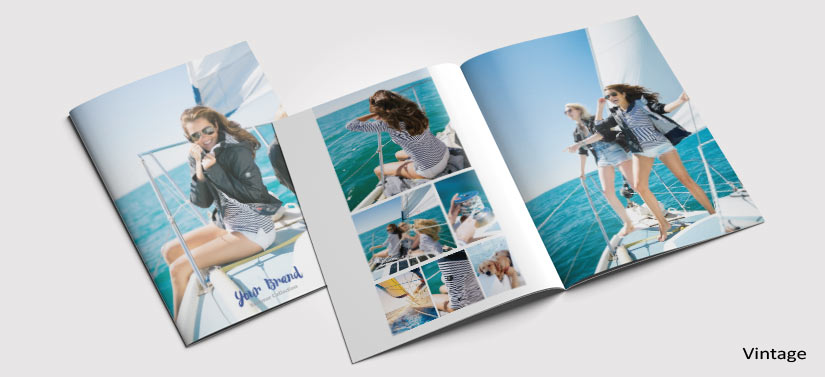
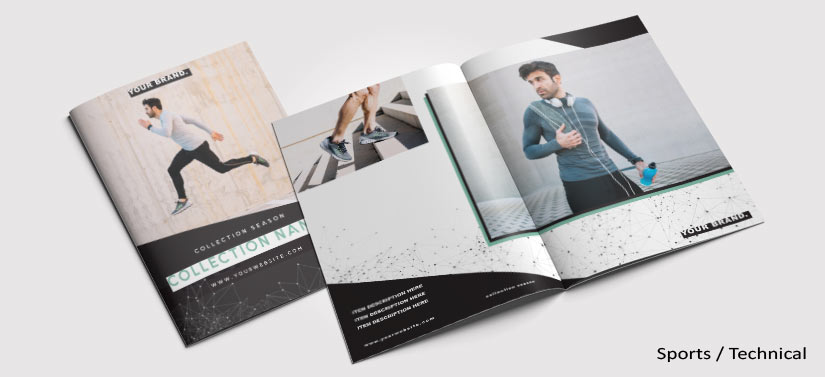
We have used Adobe InDesign to create 3 killer lookbook layouts at A5 size, pinpointing three popular genres of fashion. Urban /Street, Vintage and Sports Technical. All are free to download, just click the images below.
Lisa Cooper is a photographer and marketing writer working for Print-Print Limited, promoting business and building your brand through quality print marketing.
If you’re interested in small business promotion then please get in touch info@print-print.co.uk
Get a feel for what we do!
Our FREE sample packs are full of great print ideas. They’ll give you a taste of what to expect when ordering your design and printing from us.